Diy Iron On Patches And Appliques · How To Make A Patches · Sewing on Cut Out + Keep
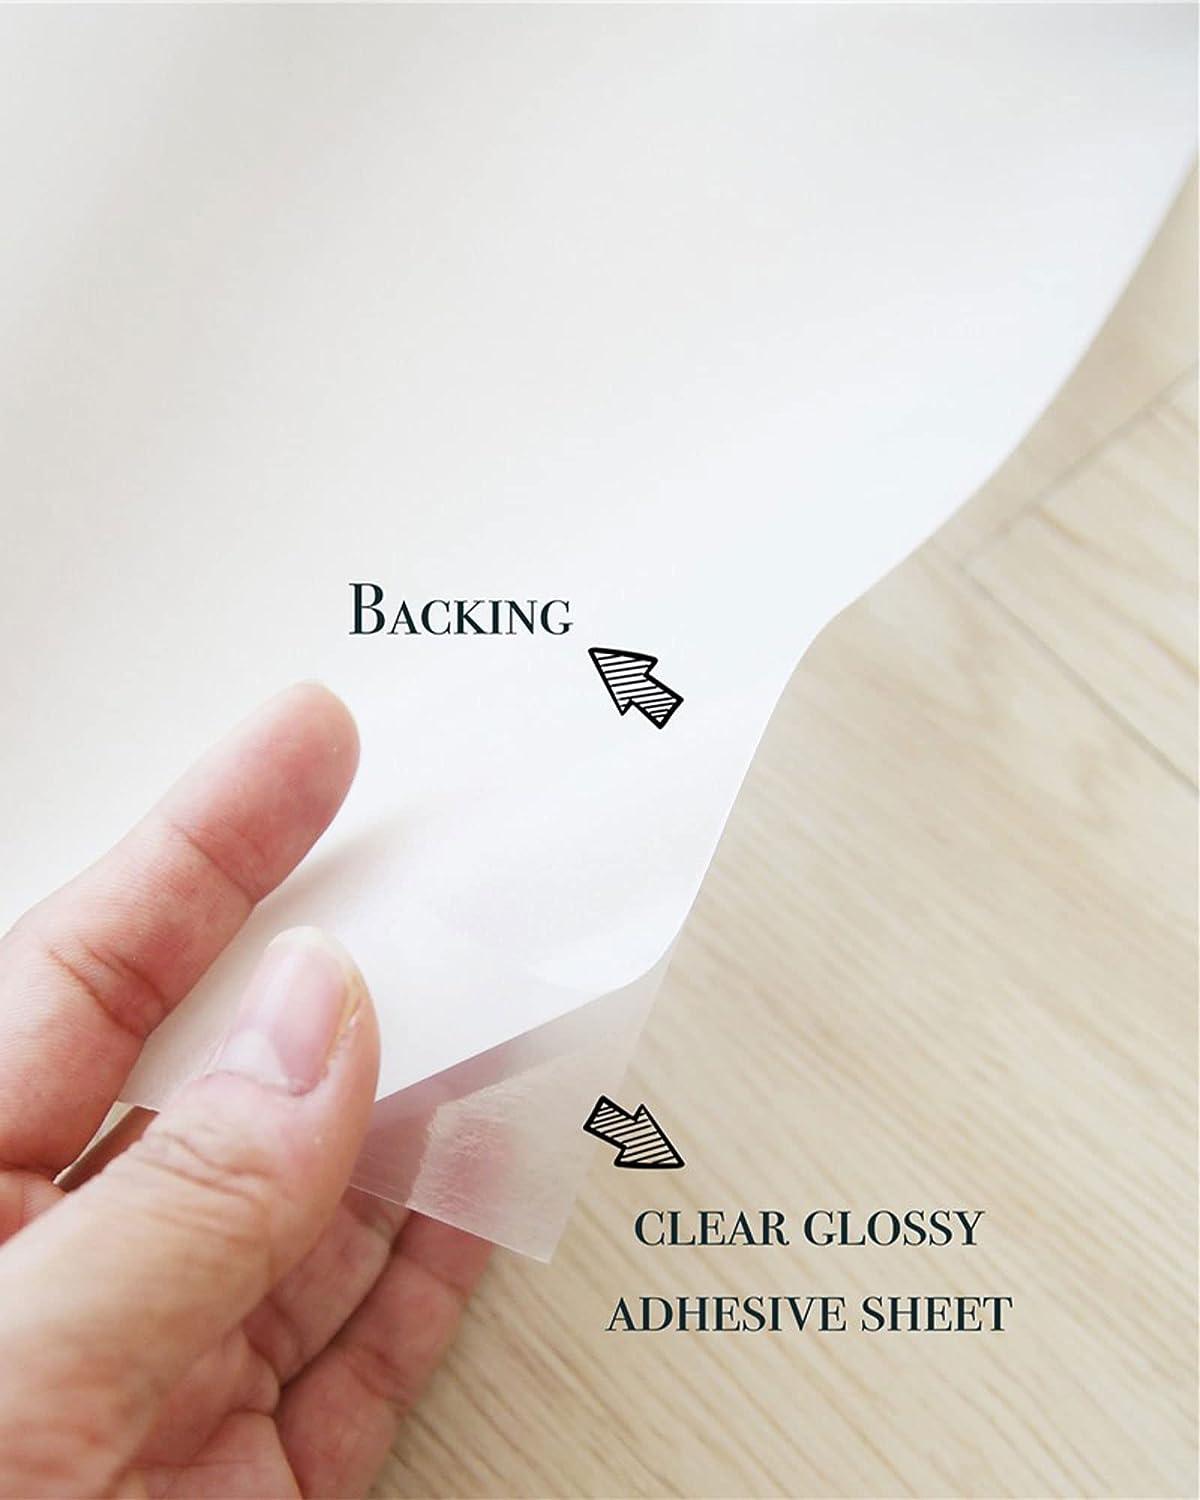
Customize shirts, onsies, tote bags, and more.\r\nOne of the coolest and simplest craft supplies I’ve come across is paper-backed, iron-on adhesive. The adhesive often comes on a roll or is sold in sheets. It basically consists of an adhesive that melts when heat is applied (via iron) and a paper backing. I created a similar tutorial a few years ago and it continues to be one of my most popular blog posts. I thought it could use some updating.

3 Super Easy Iron On Patch Instructions

Iron-On Embroidered Patch Tutorial

DIY IRON ON PATCHES ☻ 4 WAYS ☻ HEBAELE
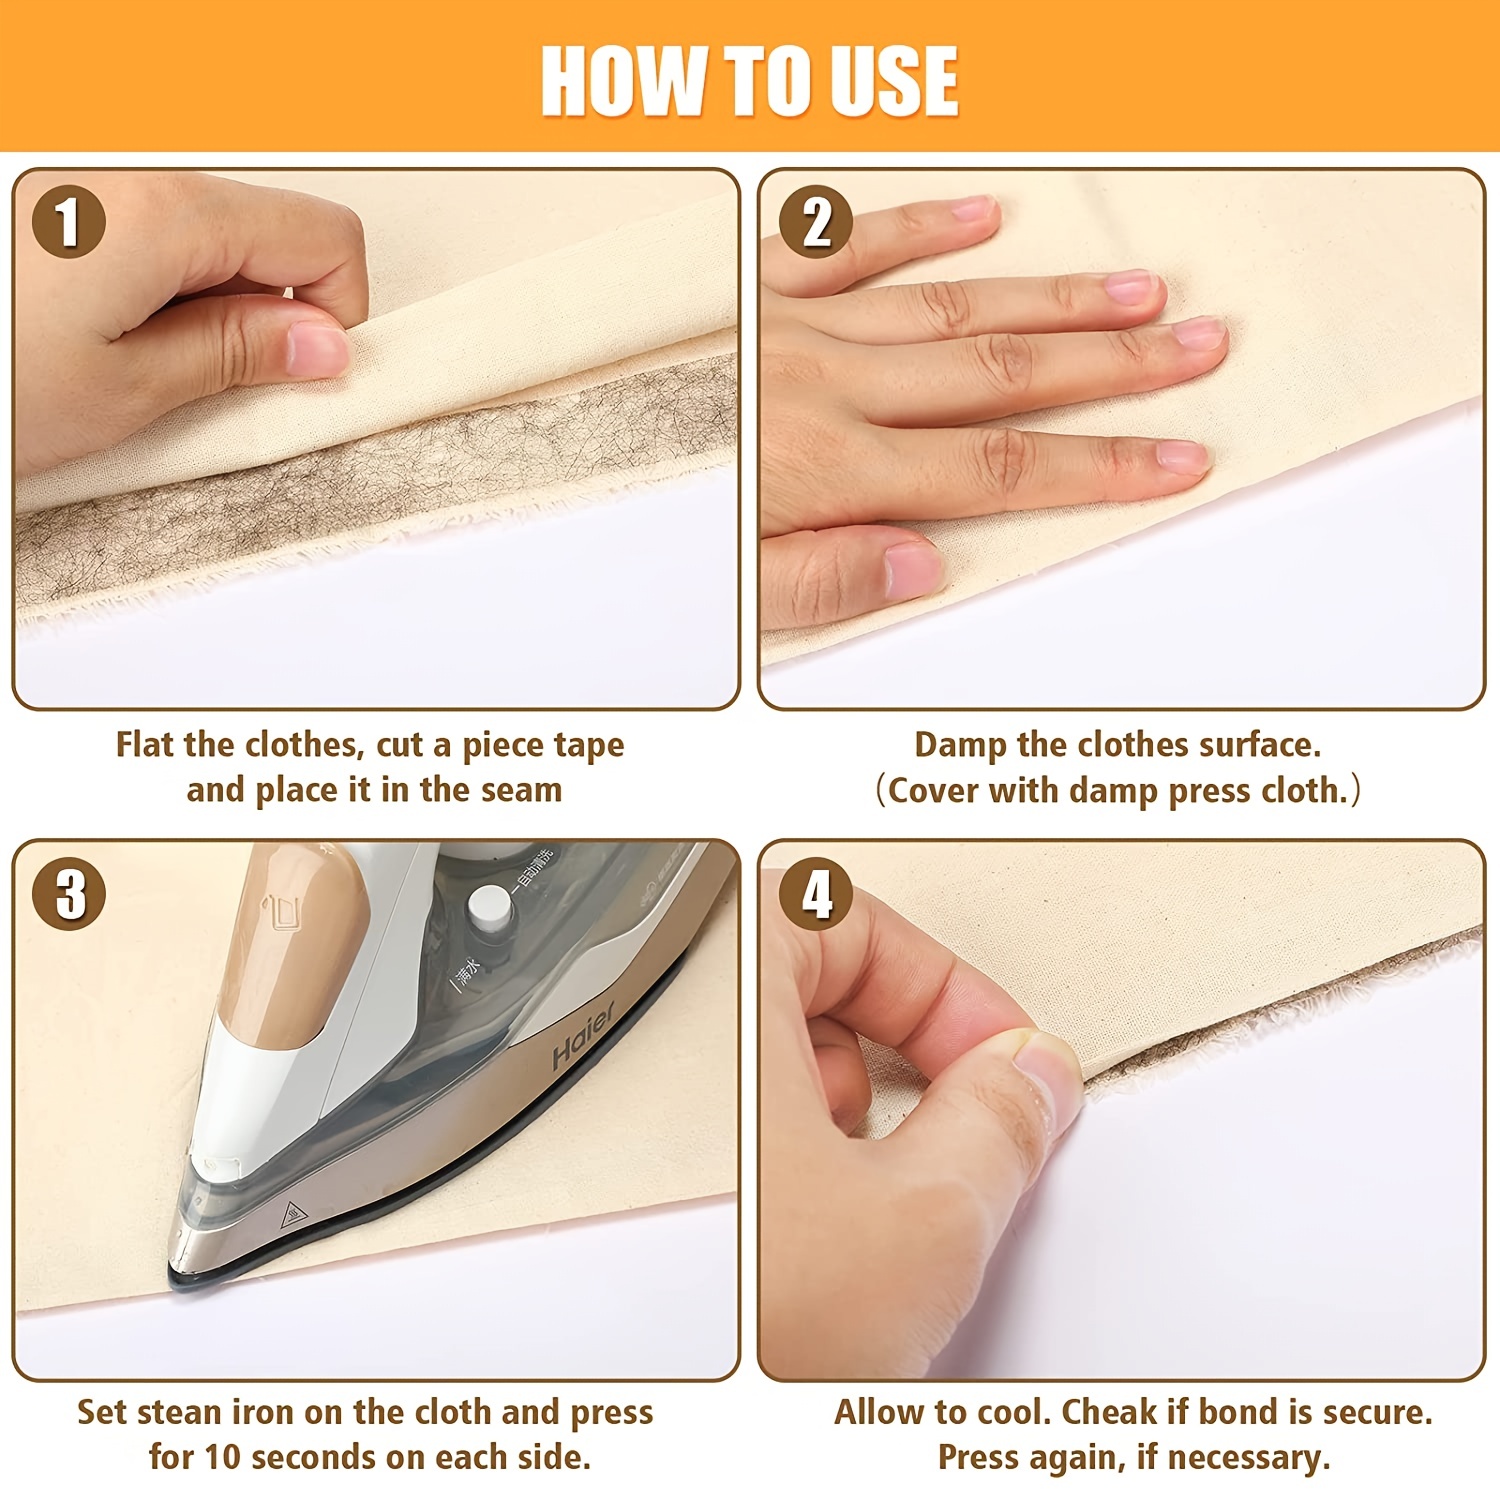
Here is a tutorial about how to iron on patches for you Position the heated iron over the patch and press down. Lay the base item on a flat,

DIY Embroidery Patches Sew On Iron On Badge Applique Hat Craft Sticker Transfer
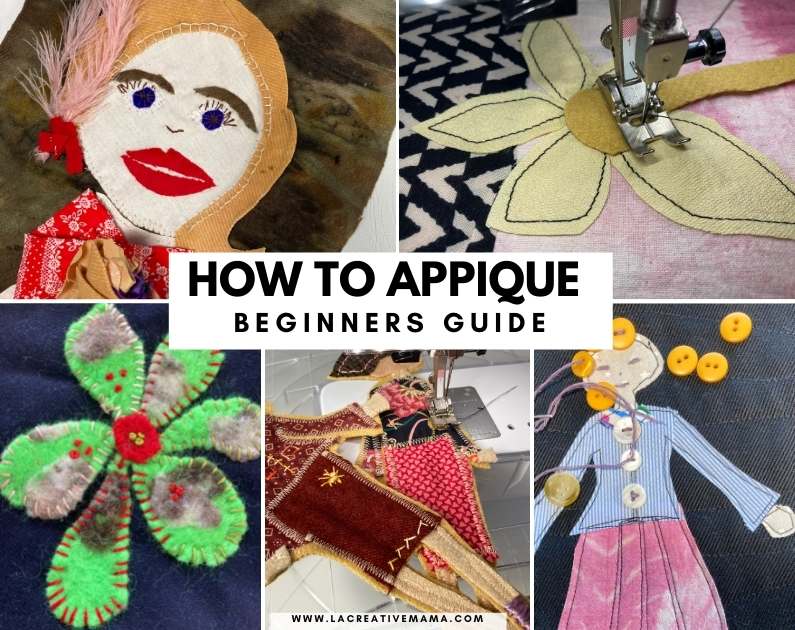
How to applique-Beginners Guide to Fabric Applique - La creative mama
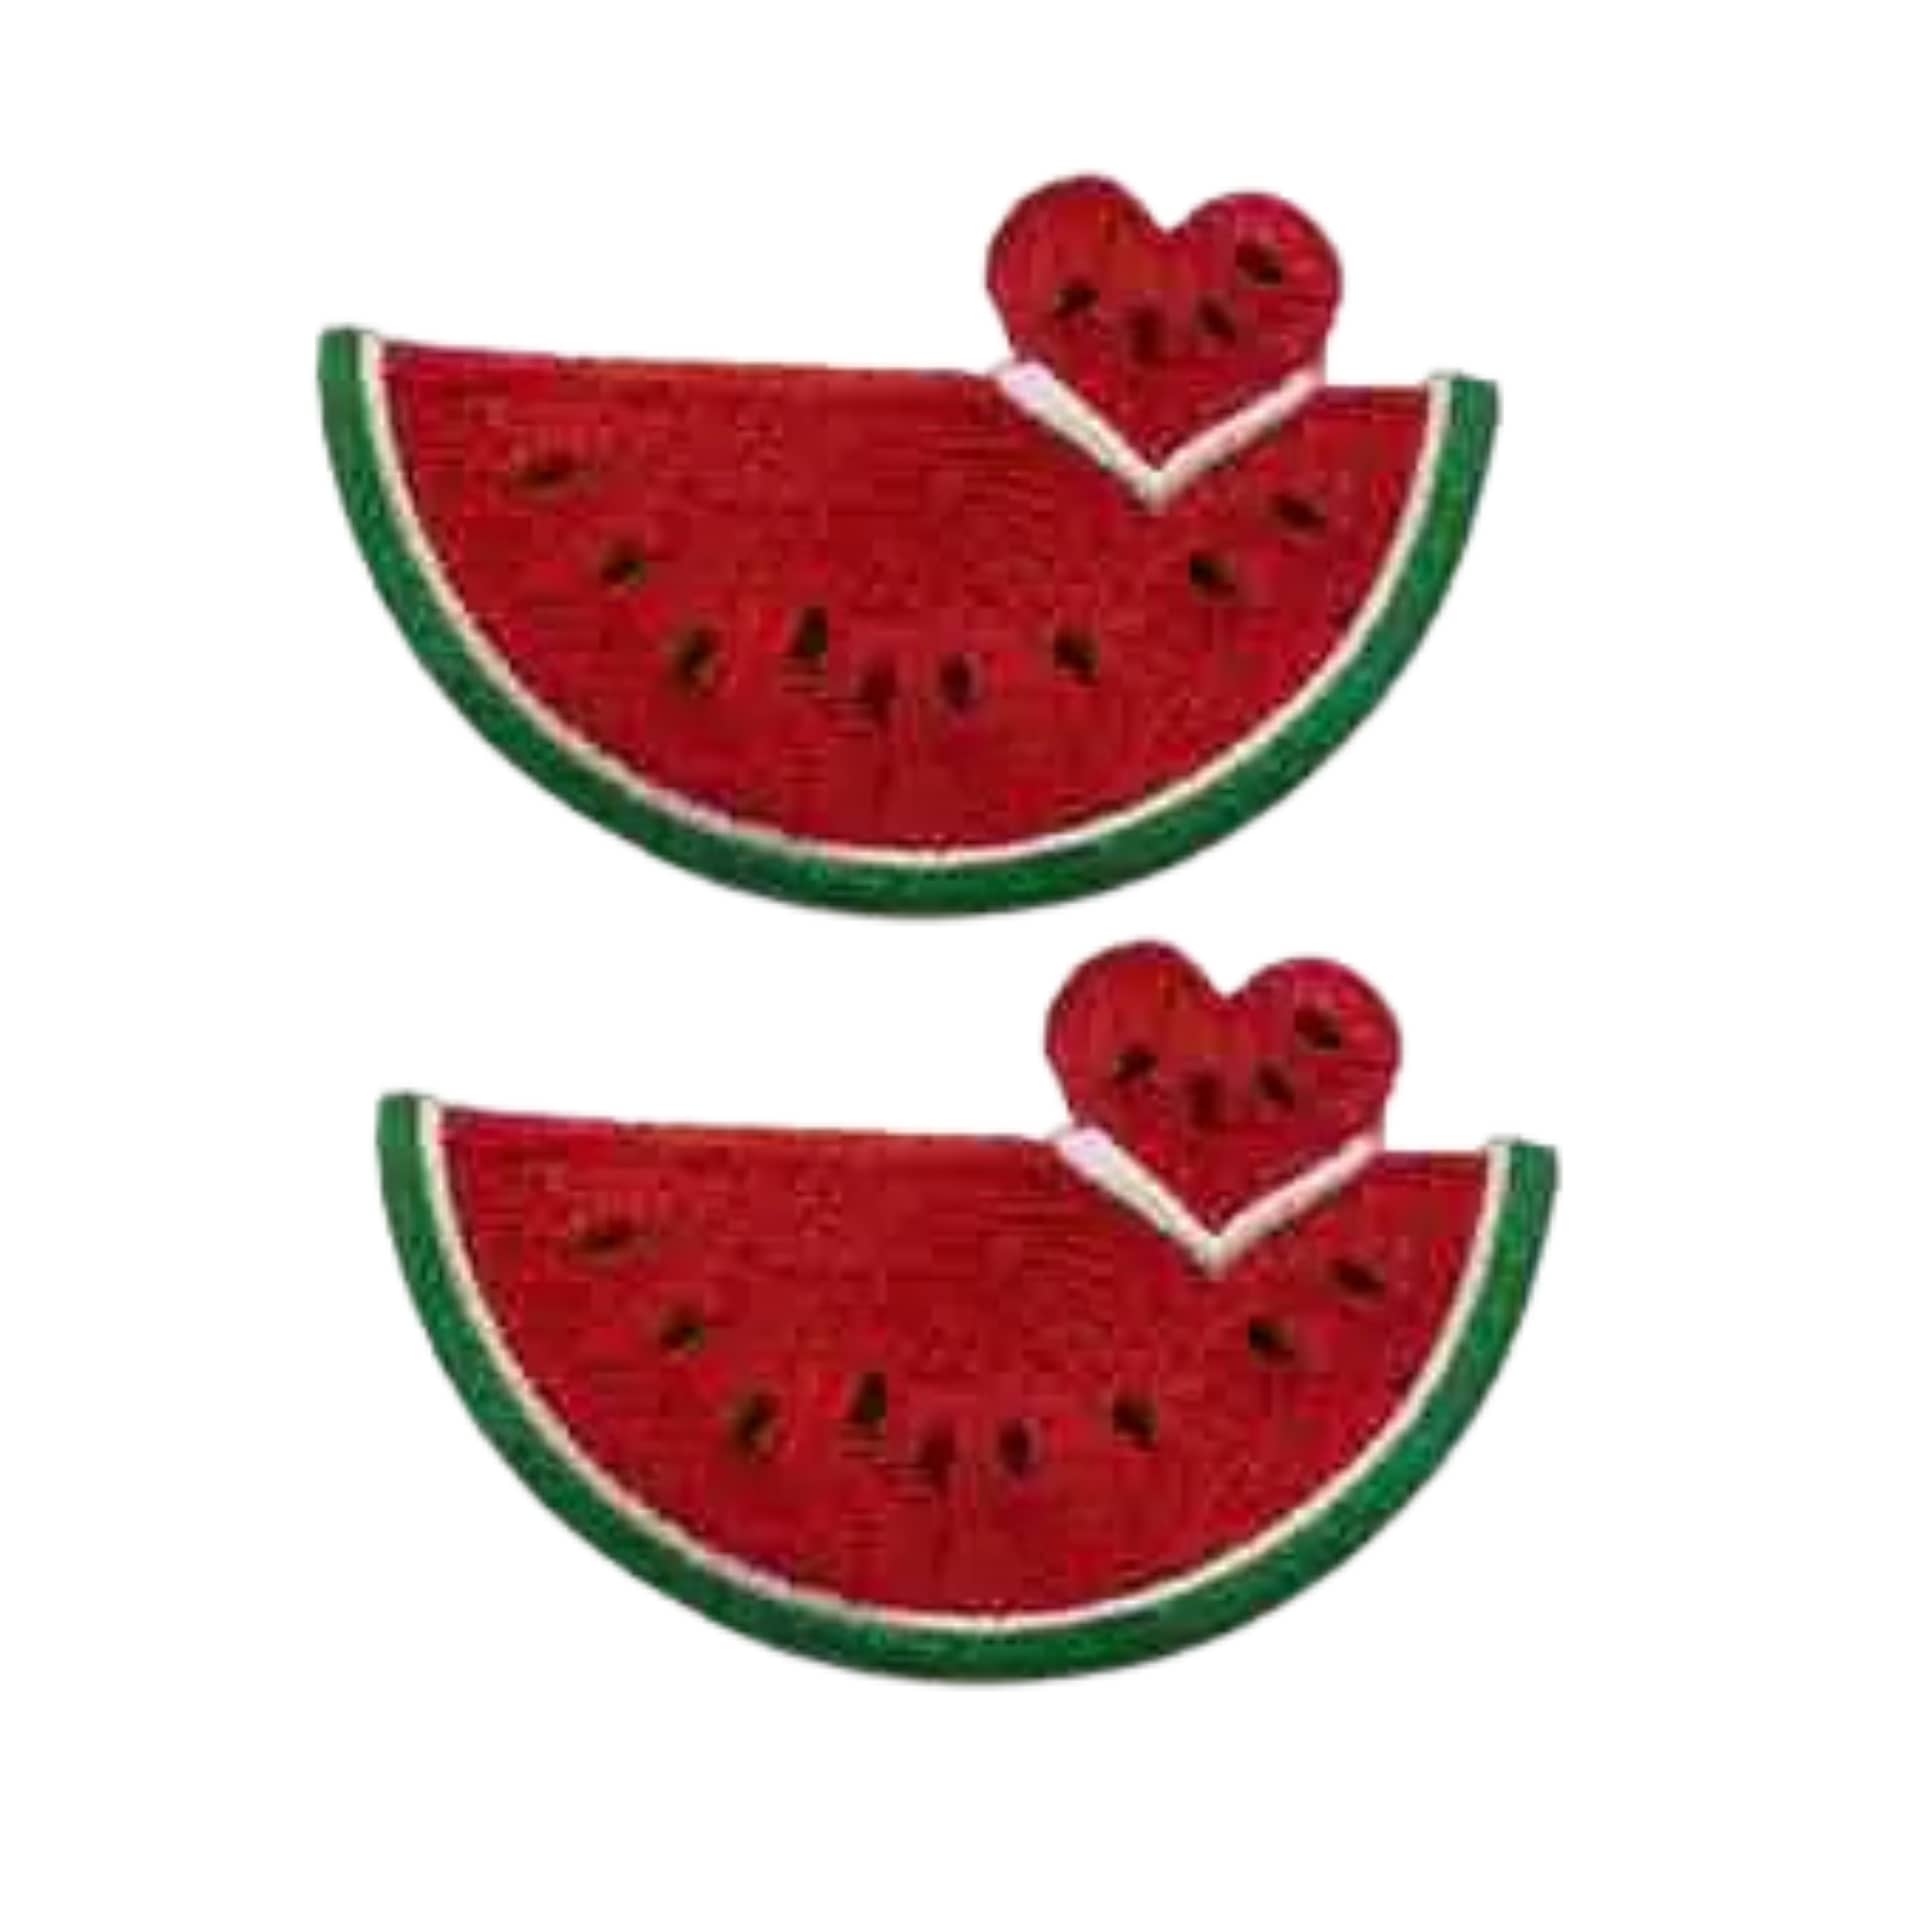
Large Watermelon with Heart Cutout Iron On Patch Applique
How to Make Your Own Iron on Patches – Do It Yourself

Tutorial: How to Iron On Patches
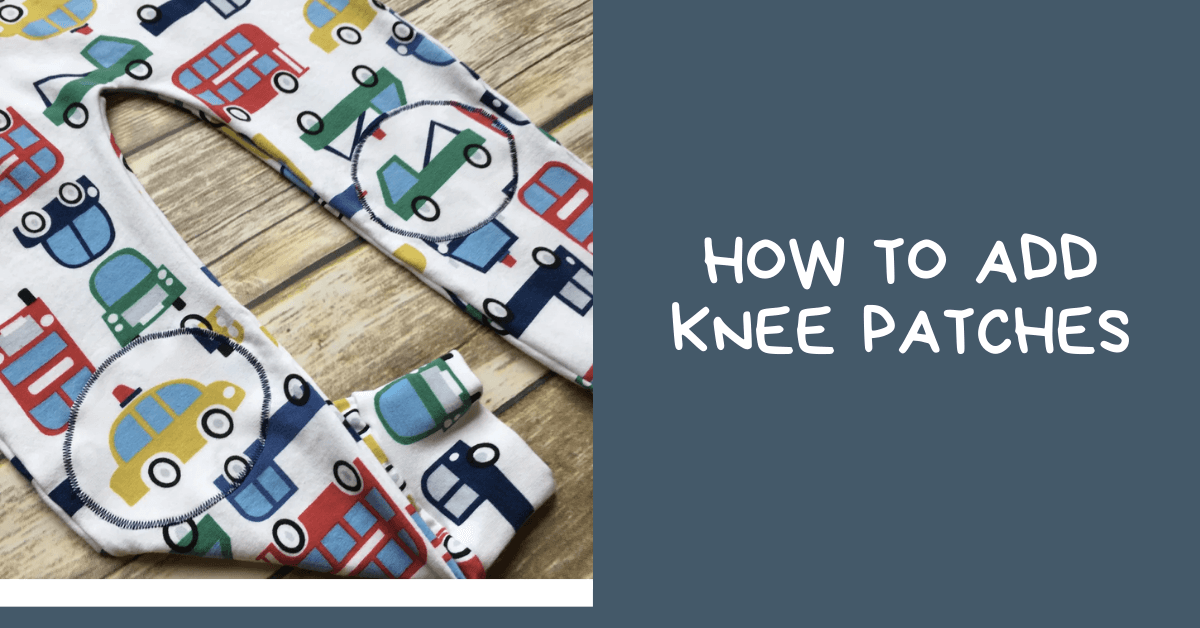
How To Sew Knee Patches: Comprehensive Guide

How to Make Your Own Iron on Letters and Applique Using Heat and Bond - No Cricut Needed!
This patch measures 2 wide by 2.13 tall. Iron or sew on to clothing, luggage, backpacks, hats and more. Great for personalizing your belongings!

Shiny Sequined Banana - Cut Out Embroidered Iron On or Sew On Patch

Make this no-sew DIY table runner in time for your spring feasts

DIY: Revamp Plain Clothes with Iron-on Patches (NO SEW)